

How to configure PSD Part 2
In my the first post I describe the infrastructure now let go with the configuration.

1.Configuration PSD
1.1 Import OS
- You need ton import you Operating System in your MDT server.
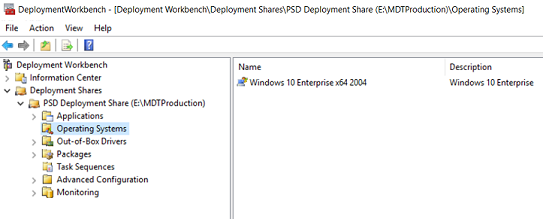
Your OS and your ADK must use the same version like 19041 for example. if not there is a problemn to activate BITS in WinPe and in your Image. Your image must be Entreprise or Pro version to support BITS
1.2 Create TS
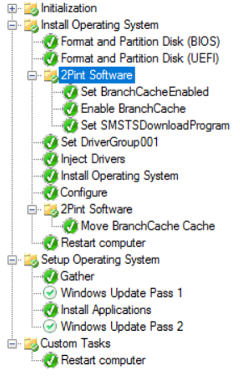
Create your TS like always you have create them 😁, and modify with this params.
- Create 2PintSoftware Group
- Create the Variable BranchCacheEnabled
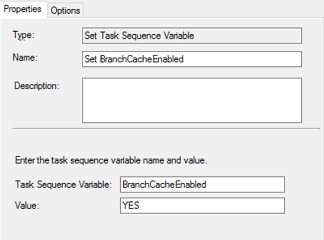
- Enable BranchCache
BCEnabler.exe Enable %_SMSTSMDataPath%\BCCache 2 1337 - Create the Variable SMSTSDownloadProgram

The BITSACP program is the heart, it is the one that will initiate the downloads of the sources from your server using BITS.
- Create another 2PintSoftware Group after the Step configure to
Movethe BranchChache to the OS volumeBCEnabler.exe Move %OSVolume%:
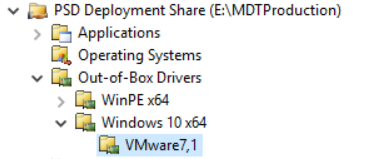
1.3 Add Drivers
My environement is a POC only so I decide to add some driver aproximativly 600 Mo
I make this structure for my drivers.
And I all your fake or not driver 😁.
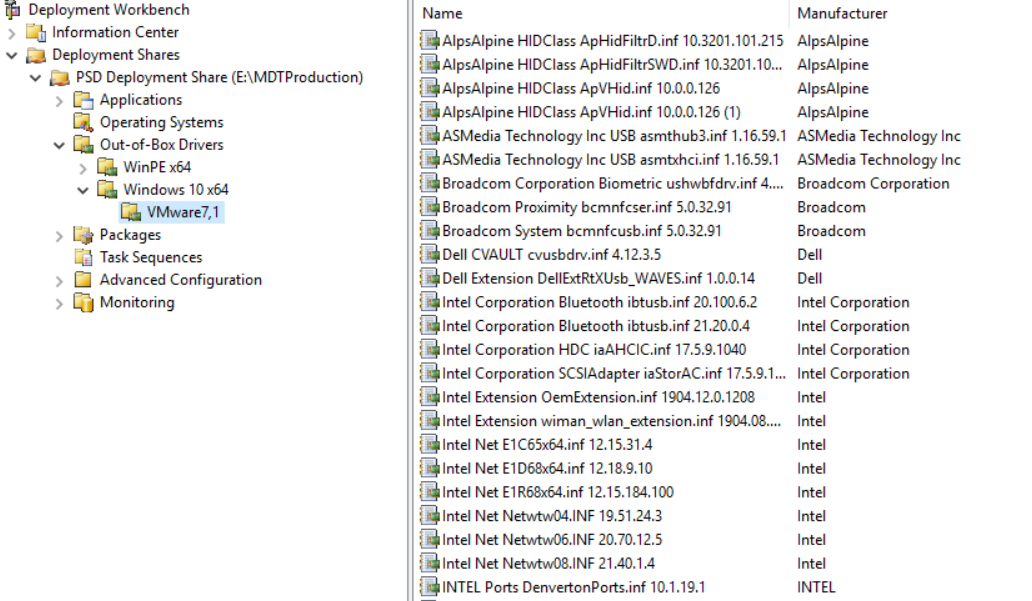
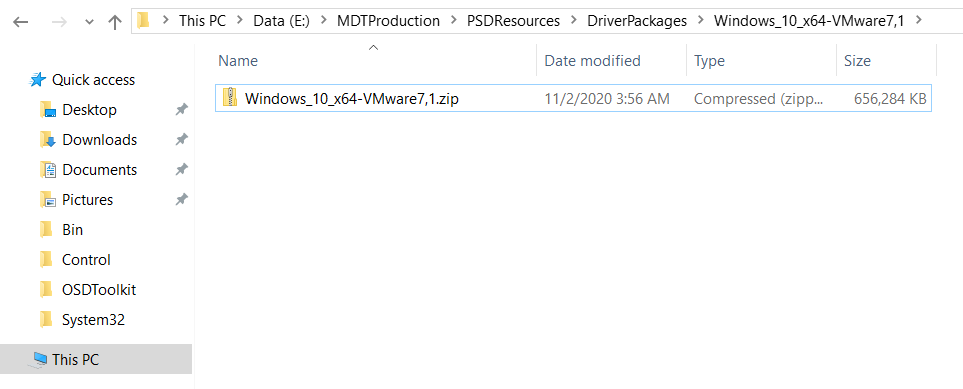
the script create a Archive and it copy it in the PSDResources\DriverPackages like this.
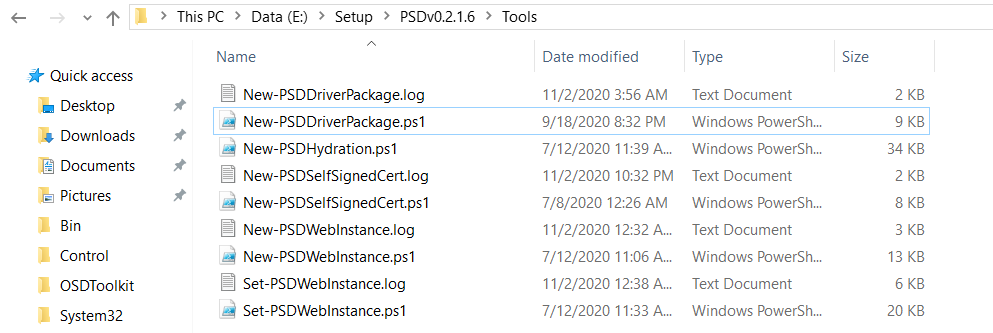
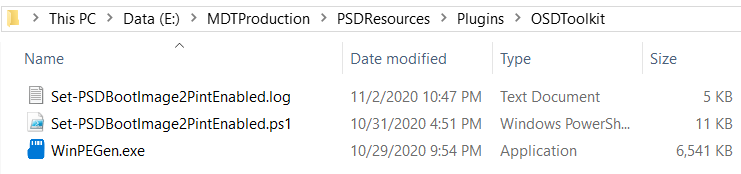
1.4 OSDToolKit
you need to download the free Tool form the 2pintSoftware website Link
You need to creat a account after you can download the software.
To Activate th full power for OSDToolkits you need to buy a licence and support, just the free look’s very good.
Now we need to configure your DeploymentShare :
- Extract your OSDToolkit archive
- Copy to the folder
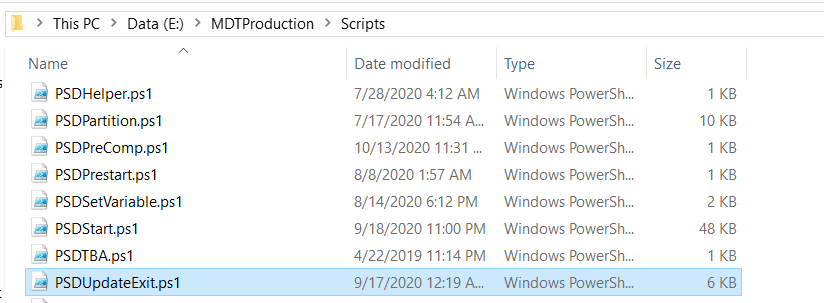
- Modify a the powershell file PSDUpdateExit.ps1, you need to uncomment the OSDToolkit part.
Like this 😉.

this script was call by MDT to enable BITS in your WinPe and for OS.
1.5 Config CS.ini and BootStrap
You need to make some change in your Files
[Settings]
Priority=Default
Properties=MyCustomProperty

[Default]
OSInstall=Y
SkipCapture=YES
SkipAdminPassword=NO
SkipProductKey=YES
BranchCacheEnabled=YES
SMSTSDownloadProgram=BITSACP.EXE
OSDToolkitImageName=Windows 10 Enterprise x64 2004
In the CS.ini you must add BranchCacheEnabled, SMSTSDownloadProgram and OSDToolkitImageName variables. Becarefull with the OSDToolkitImageName you need to add the value for your OS. In my case Windows 10 Enterprise x64 2004.
[Settings]
Priority=Default

[Default]
DeployRoot=https://mdt01.jm2k69.loc/mdtproduction
UserId=BuildAccount
UserPassword=P@ssw0rd
UserDomain=MDT01
1.6 Now Update your deploymentShare
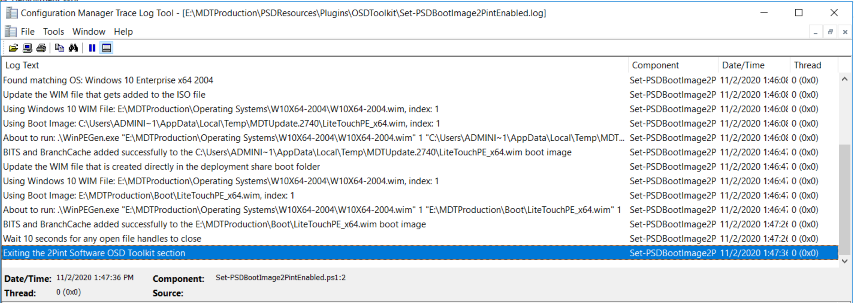
For troobleshooting if your config is ok in the folder E:\MDTProduction\PSDResources\Plugins\OSDToolkit a log file must be present.
If you have a PXE server WDS or 2PXE or with the ISO you can start 2 VM for me to test it.
Before the First deployment you can publish BanchCache Content with this line :
# Disable Windows Defender real-time scanning
Set-MpPreference -DisableRealtimeMonitoring $true

# Create BC hashes for the MDT Production share
Publish-BCWebContent -Path E:\MDTProduction -Recurse -Verbose
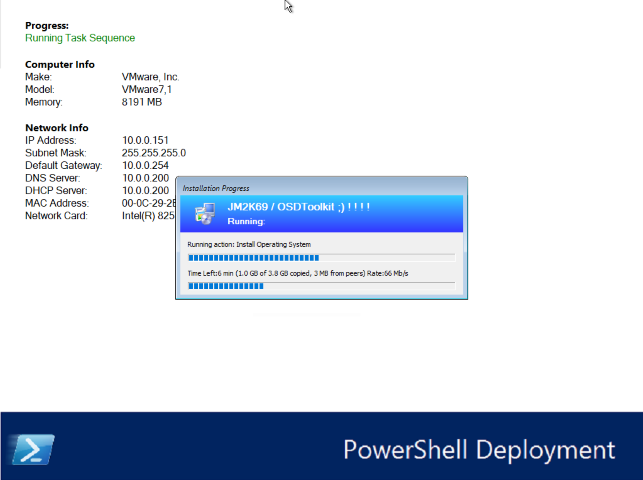
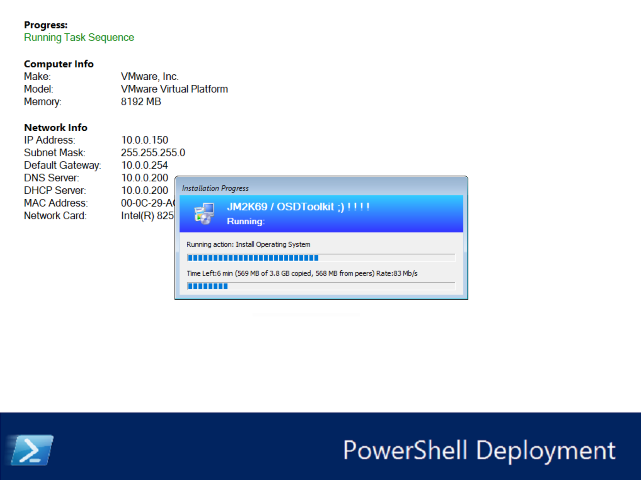
2.0 Test
In my Lab I created 2 VM on Workstation 16
- 2 vCPU
- 8 Gb RAM
- 60 Go DD on SSD Nvme
- 1 vNic
BranchCache will be limited by the environnement because I use VM with real PC the result must be greatter.
-
First VM
-
Second VM
I will make a short video for OSDToolkit in VMware Workstation soon. 🤗
Thank’s for reading.
Written by Jérôme Bezet-Torres @JM2K69.